| bluepoof.com
email me
patching a flat tubed tire
Time needed: Ha! Assume a couple of hours if it's your first time (depending on whether your bead wants to break). I've personally seen experienced people do it in under 10 minutes, though.
- Some way to prop your bike up to remove the rear wheel (centerstand, rear stand, convenient tree, whatever)
- Dishwashing soap (The Chain Gang recommends Ru-Glyde instead -- I'll try that next time)
- Talcum powder
- Tire patching kit (I recommend Stop & Go's Deluxe Tube & Tubeless Repair Kit)
- Tire irons -- the kit above contains two, but if space isn't an issue, I recommend having three 12" irons
- A car, The Incredible Hulk, or a bead-breaking tool
- Patience

background.
For the second time in my life, I got a flat tire and, for the second time in my life, this happened in my garage. I lead a charmed life.
Please note that this particular procedure is done on a tube tire. If your motorcycle has tubeless tires, the procedure will be different -- see the tubeless tire procedure here.
The kit used here contains many tools for both tubed and tubeless tires. For tubed tires, you'll need a patch to cover the hole in the tube, tire irons, rubber cement, and buffer.
pre-procedure.
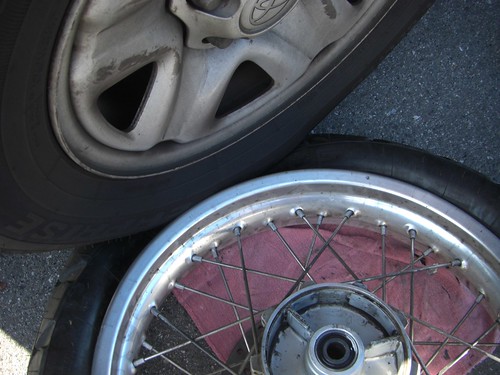
Put your bike on its centerstand, a stand, or whatever. Remove the tire in question.
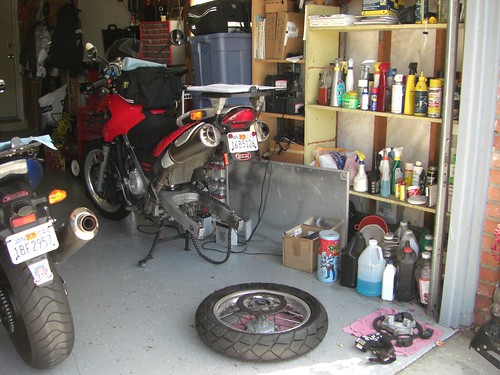
procedure.
With a tubed tire, the actual problem is the puncture in the inner tube, not the outer tire. In fact, sometimes there may not be a puncture of the outer tire at all -- this was the case for me. The inner tube was pinched and tore itself. You can tell that there's a hole in the tube by sloshing soapy water on the tire and watching bubbles push out of the spokes, like so:
The first thing that you want to do is to let all of the air out of the tire. Remove the valve stem retaining nut and let as much air out as you can.
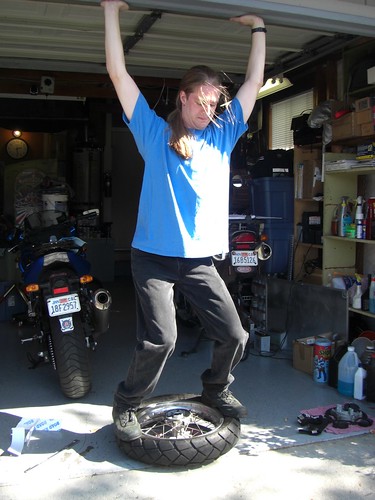
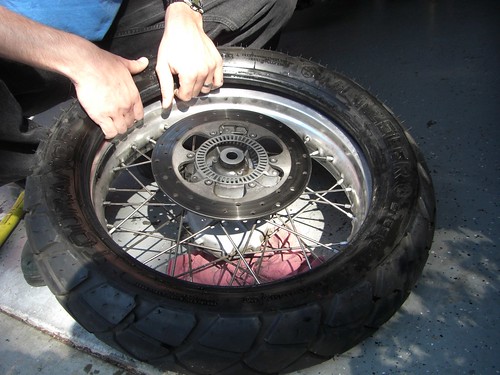
Next, break the bead on the tire. This is a very small sentence that will cause you heartache. Don't say you weren't warned.
The "bead" of a tire is really just the tire's edge. It's generally made of looped steel or Kevlar and is what holds the tire to the wheel rim. To "break the bead" means that you want to pop the tire off of the rim, like removing a stubborn lid on a Tupperware container.

(Photo copyright http://www.garynuke.homestead.com/tubular.html)
The most common first method of breaking a tire bead is to lay the tire on the ground (put a towel under it so it doesn't scratch the sprocket or rotor) and stand on the edge of the tire. Jumping up and down releases aggression but often doesn't do much.
NOTE: I have since learned that the above photo is asking for a bent rotor. DO NOT DO THIS without propping up the wheel on something so that the rotor doesn't touch the ground. The Internet says that an old car tire or a couple of 2x4s work well for this. I'll update the photo the next time I do this work.
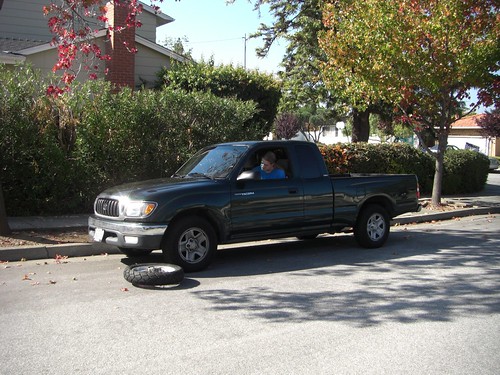
After a few more attempts involving a vice, a brick, and trying to fit two grown humans on one tire, we said, "well, to hell with this" and ran it over with the truck.
NOTE: I have since learned that the above photos are asking for a bent rotor. DONOT DO THIS without propping up the wheel on something so that the rotor doesn't touch the ground. The Internet says that an old car tire or a couple of 2x4s work well for this. I'll update the photos the next time I do this work.
Success! The bead is broken!
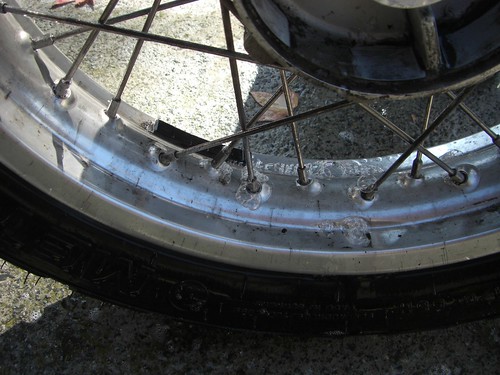
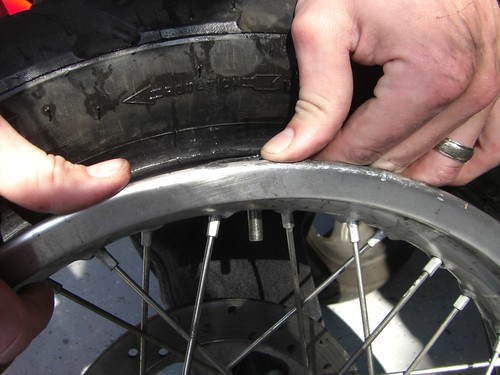
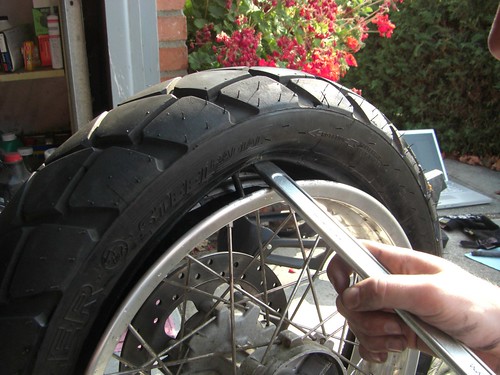
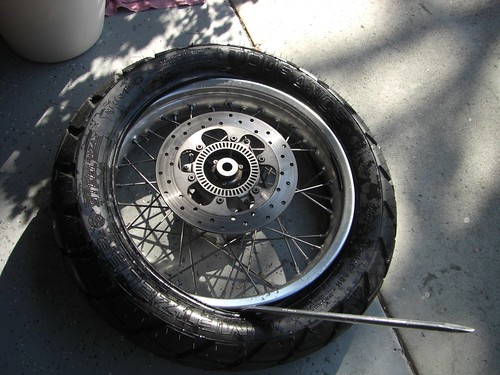
Once the bead is broken on both sides of the tire, insert a tire iron in between the rim and the tire wall. Do the same thing with a second tire iron a few inches away from the first tire iron.

The idea is that you want to work your way around the tire, prying the tire wall up and over the wheel rim.
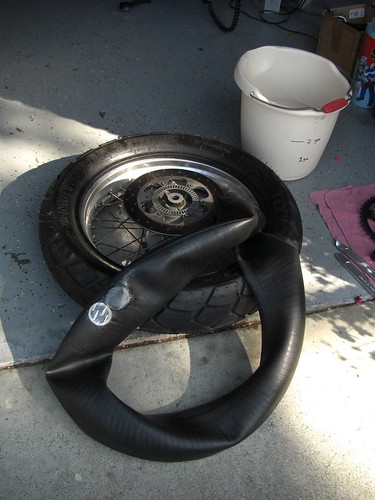
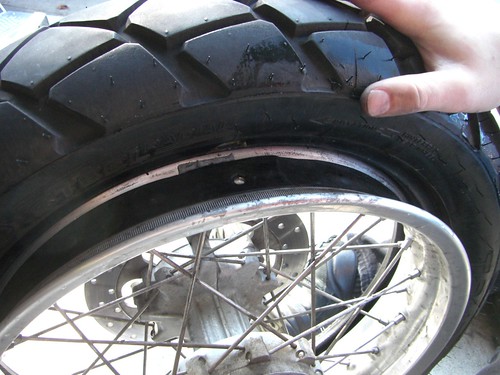
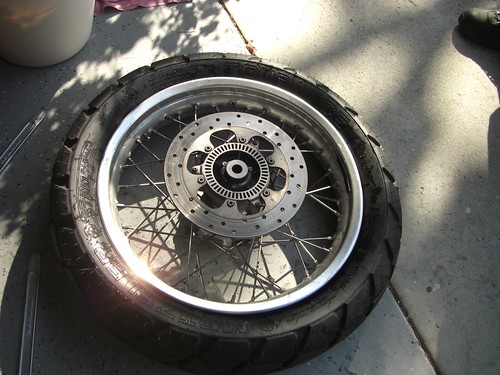
When you're done, the tire will completely cover the rim like so:
Pop the valve stem up through the rim and remove the inner tube.

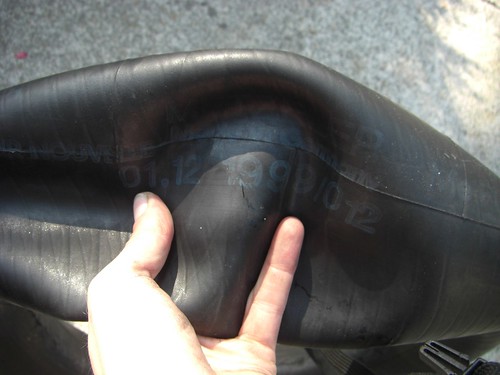
Once the tube is removed, you'll have to find the puncture. Mine was pretty obvious:
Buff up the area all around the puncture with the buffer tool. You want it nice and scuffed so that the rubber cement will take hold.
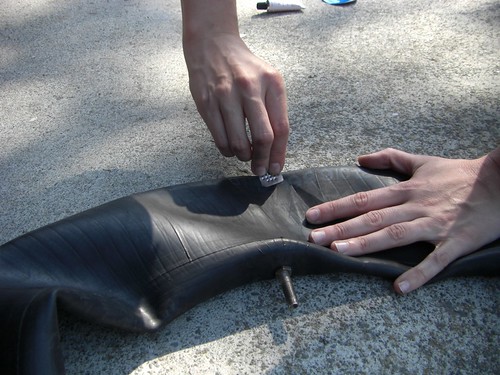
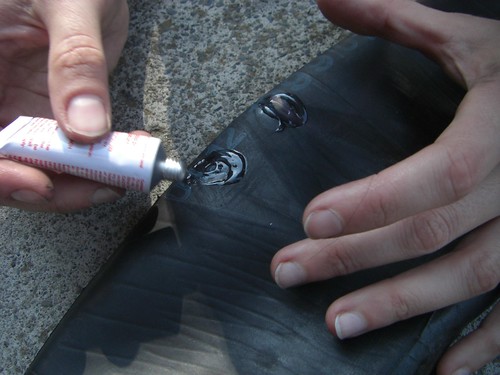
Apply gobs of rubber cement all over the tear in the tube. Really glop that stuff on -- go ahead! It's cheap! You can buy more! There are two separate circles of rubber cement in the photo because we found a second tiny hole next to the big tear. Glop glop glop!
Once the rubber cement dries just enough to be tacky, apply the patches. Really press them down and make sure they're on there nice and good. Stick on more rubber cement if you have to.
Now for a trick I learned on XT225.com -- partially inflate the inner tube and hang it over your finger. You want just enough air in the tube so that your finger rests about halfway up the tube:

Time to replace the inner tube. Cover the tube with talcum powder so that it slides in and doesn't bind. Start at the valve stem, making sure that it lines up with the hole in the rim. If there's a blue band on your inner tube, make sure it's up.
Push the inner tube the rest of the way in. It's pretty easy when it's partially inflated.

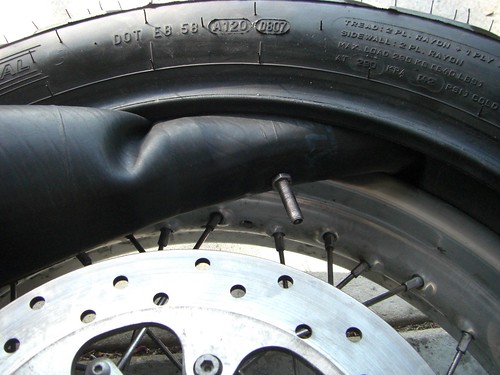
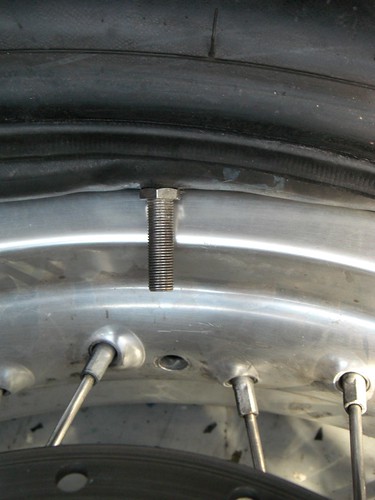
Double-check that your valve stem is lined up with the rim:
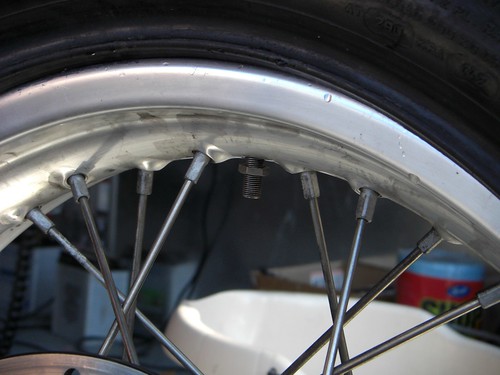
Spin the tire around 180 degrees and find the inner hole in the rim:
Use the tire iron to lift up the tire and guide the valve stem into the hole in the rim. Thread the valve stem nut back onto the stem.
Soap the whole tire up good with dishsoap (or Ru-Glyde) and water to make it all lubed and slippery.
Use your tire irons again to pry the tire back over the rim. Be careful not to pinch the tube in between the tire iron and the wheel rim! Use both tire irons (or all three if you have them) and work your way slowly around the perimeter of the tire.
Looking good!
Finally, overinflate the tire to 50 psi or higher to seat the bead. Deflate the tire all the way to let the tube settle inside the tire, then reinflate to the proper psi.
