bluepoof.com
Iron-On Reflective Tape
Time needed: 15-30 minutes, depending on how much tape you're adding
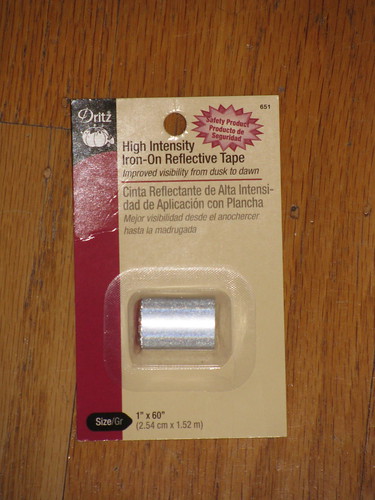
- Iron-on reflective tape (mine came from Joann Fabrics for $2.50/roll)
- Iron
- Thing onto which you wish to iron the tape

background.
I love my FirstGear HT Overpants but, sadly, there's no reflective bits in the back. I love the reflective bits on the legs of Peter's Aerostich Darien pants but, sadly, they don't come in my size.
Solution? Iron reflective tape onto the backs of the FirstGear legs!
pre-procedure.
Sit on your bike and have a buddy (or yourself, if you're flexible) sketch out a rough outline of where the reflective bits should go.

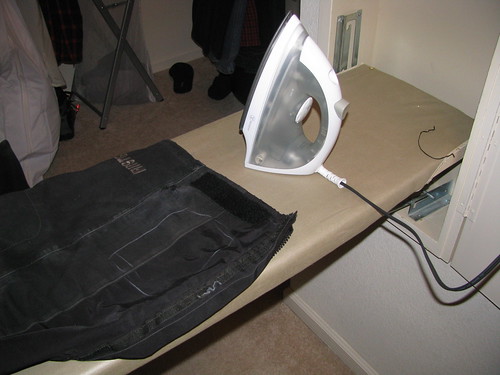
Set up your ironing board and iron; you're all set to begin.

procedure.
PLEASE NOTE that most iron-on items are not recommended for nylon. Most riding gear is nylon. Caveat emptor -- if you burn
a hole in your riding gear, this is not my bad.
The iron-on stuff is very easy to use. There are three layers to the tape: a very thin and clear protective layer, the reflective fabric itself, and a thicker and opaque protective layer.
The instructions tell you to remove the opaque layer and iron over the thin clear layer; THE INSTRUCTIONS LIE. If you do this, you will wind up with clear plastic all over your iron. The instructions have it backwards.
So, cut the tape to your desired length and then remove that clear thin layer of plastic.
Set the tape down on your clothes and gently press down with the iron for about 25 seconds. We used a heat setting somewhere in between "nylon" and "wool".

Later, rinse, repeat until you've got the coverage you want.

Once you have all of the tape on and are confident that it won't peel off (give it another go with the iron if you're not sure), go back and remove the opaque layer of plastic from all of the pieces you ironed on.
result.
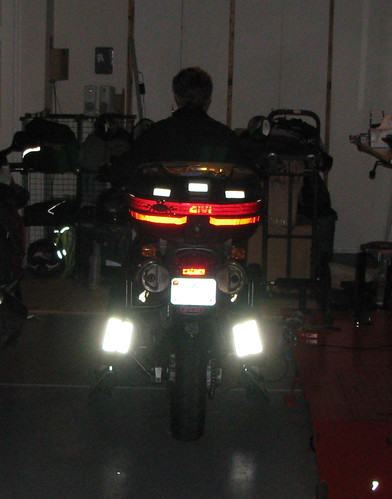
The tape looks really good! I doubt it would survive a go through the washing machine and I'm a little nervous about a heavy rainstorm, but I'll report back.
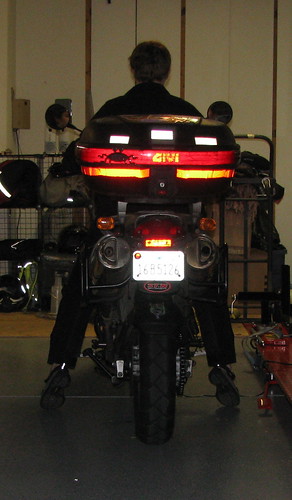
Here are some side by side comparisons of before and after:


