| bluepoof.com
email me
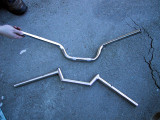
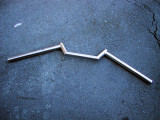
replacing the stock bars with surburban machinery low bars
Time needed: about an hour and a half
- Suburban Machinery low bars for the SV650
- 10mm socket (and wrench)
- 8mm socket (and wrench)
- 6mm hex (allen) wrench
- #2 Philips screwdriver
- scissors or knife
- aerosol brake cleaner (or WD-40)
- two zip-ties
- epoxy
background.
My neighbor Mark has a 1991 Bandit 400 (same model as mine), but prefers the seating posture of our friend Kim's
Honda CB-1. Putting clip-ons onto the Bandit would require some major time and expense, as he'd need to replace the
triple clamp at the very least. After doing some research, Mark decided to try out Suburban Machinery's low tubular
handlebars for the SV650. The Bandit 400 and the SV use the same triple clamp, so all Mark needed to buy were the
handlebars themselves. Fortunately for me (perhaps not so much for Mark), I was home when he did the swap, so I
took pictures of his adventure.
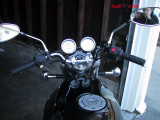
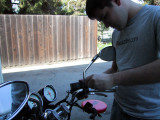
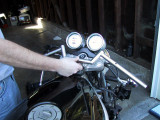
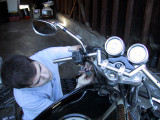
Here's a picture of Mark's Bandit with the stock handlebars on it.
pre-procedure.
There really isn't any for this swap. It's a clean exchange.
procedure.
The first thing we have to do is remove everything from the stock handlebars. We'll start with the lefthand
switchbox, which houses the clutch cable (as well as the electrics for the turn signal, horn, and high beam).
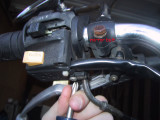
On the underside of the switchbox are two long Philips head screws. Unscrew these and remove them.
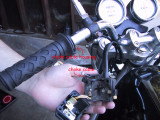
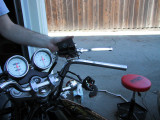
With the switchbox opened up, it should be easy to disconnect the choke cable from its housing. Once that's removed, you can take the switchbox right off of the handlebar. Remove the lefthand grip -- you can use a knife if you're going to replace them anyway. If you want to keep the grip, slide a thin flathead screwdriver underneath the grip, being careful not to poke a hole in the grip. Stick the aerosol spray tube for some brake cleaner (or WD-40, if that's all you have) underneath the grip and spray a small amount. Use the screwdriver to slide the brake cleaner all the way around underneath the grip. It should be easy to remove the grip now. Also, cut off the ziptie that holds the lefthand cables.
Now let's go over to the righthand handlebar and do the same thing with the righthand switchbox. Unscrew the two Philips head screws on the underside of the switchbox and remove the throttle cable from the housing. You can then slide the righthand grip/throttle off of the righthand handlebar.
Once the righthand grip is off, unbolt the two 8mm bolts that hold the brake reservoir and righthand mirror on. Remove the mirror and the brake reservoir/lever. Cut the ziptie that holds the righthand cables, and you're all done with the righthand handlebar.
The mirror and clutch lever are still attached to the lefthand handlebar, but the clutch cable isn't long enough to slide it off of the bar. So, we'll remove the bar first, and then slide off the clutch assembly. Use your 6mm hex wrench to remove the four hex bolts on the top of the triple clamp. Once the handlebar is free, you can just pick it up and slide the clutch lever and mirror off.
OK! Now it's time to put Mark's snazzy new bars on.
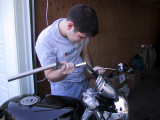
Set the Suburban Machinery bars onto the Bandit's triple clamp. The little holes should face up -- there are little plastic pegs inside each switchbox that will fit into them (more on that later).
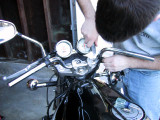
Since we couldn't slide the lefthand mirror and clutch lever off with the stock bars attached, it should come as no surprise that we can't slide them onto the new bar if it's attached. So, before mounting the Suburban Machinery bars, go ahead and slide on the lefthand mirror and clutch lever. Once that's on, go ahead and replace the handlebar clamps and tighten up those four 6mm hex bolts.
Now, here's where we have to play a little game. In order to line the switchbox up with the hole in the handlebar, you'll have to really shove the mirror and clutch lever as far to the right as you possibly can. It helps to actually push the instrument panel to the right and give that mirror/clutch a good shove. Tighten it down once there's a couple of millimeters between the left side of the mirror bracket and the hole in the handlebar. It's OK if the instrument panel is a little tilted; we'll fix it in a second.
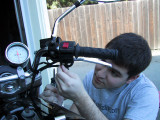
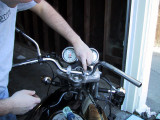
Once that's done, slide on the lefthand switchbox (don't forget to reconnect the choke cable), lining up the plastic peg with the hole in the bar. If it doesn't line up, loosen the mirror/clutch bolt and shove it further over to the right. Once you've got the switchbox lined up properly, insert its two Philips head screws and tighten them. Now, if there's still room between the choke lever and the mirror bracket, go ahead and loosen up the mirror bracket and move it back over to the left a little bit. Re-tighten the mirror bracket.
Once that's back on, replace the lefthand grip. If you have difficulty, repeat the steps with the thin flathead screwdriver and the brake cleaner. The brake cleaner should lube the bar just enough for you to slide the grip on, and will dry quickly.
Repeat the above steps for the righthand handlebar. Attach the brake reservoir and mirror bracket, shoving them as far to the left as possible. Line up the righthand switchbox over the hole in the handlebar, replace both its Philips head screws and tighten. Now, loosen up the righthand mirror bracket and move it to where you'd like before torquing it down. Replace the righthand throttle/grip, reattaching the throttle cable into the housing [Note: I don't have a picture of this step; I must have been checking my email or something while Mark was doing this. My bad.].
Note: if you absolutely cannot line up the plastic pegs in the switchboxes with the holes in the handlebars, or doing so will put your hands at an uncomfortable angle while riding, you can Dremel off the little plastic pegs. The screw tension will hold the switchboxes onto the handlebar. So don't worry if you want to tilt your levers down a little bit -- just Dremel away. I did this on my SVS when I put on the new clip-ons, and haven't had any trouble at all.
Replace the two zipties that you cut off -- one on each side. You may find that the stock clutch and brake cables seem way too long now; you can either re-route them a little to take out some of the slack, or eventually, buy shorter cables. Mark just re-routed a little bit and ziptied the cables up, and I don't think he had any problems on his test ride with this configuration.
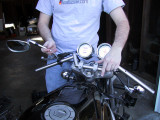
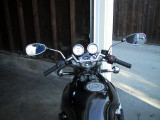
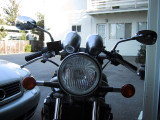
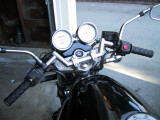
That's it! Mark's Bandit now has a much sportier posture, which he prefers to the more standard position of the stock handlebars.
